The images in this manual are from the Dutch version of Outlook 2010. Broadly speaking, this can be applied in the same way in other versions of Outlook and other e-mail programs.
If you run into problems or if you use another e-mail client, please contact our support department.
- Incoming server (POP3): mail.yourdomain.nl, port 110
Outgoing server (SMTP): mail.yourdomain.nl, port 587
(TLS/SSL to encrypt the connection is not supported by us) - User name: your full email address
- Password: the set password.
(For a new password you can contact us)
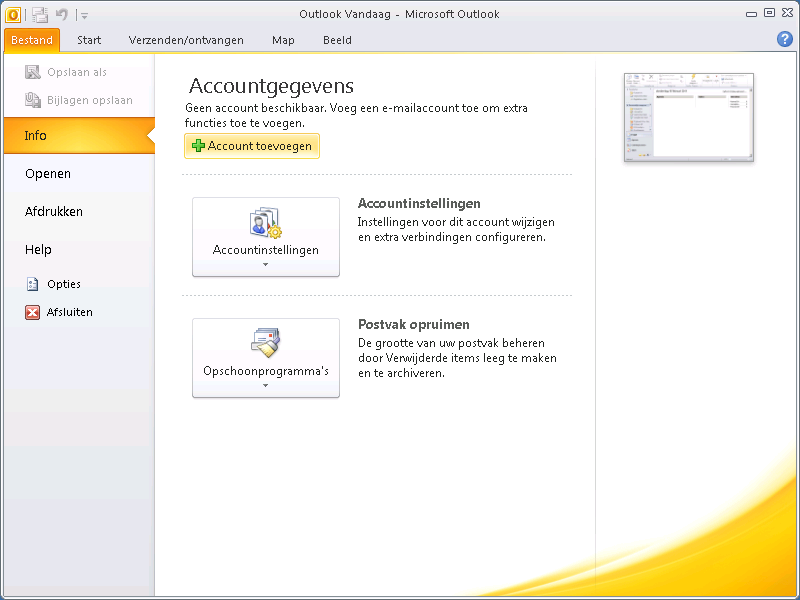
1. CREATE ACCOUNT
- Launch Outlook 2010.
- In the menu bar, select “File” (File) and click on “Add Account"
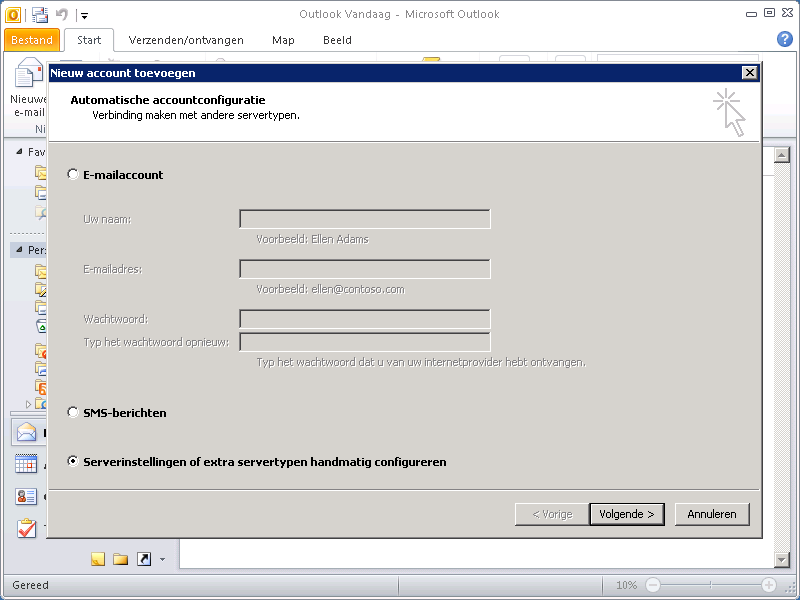
2. CONFIGURE
- Select here “Manually configure server settings or additional server types"
(Manually configure) to apply the settings manually. - Press the button "Next” (Next).
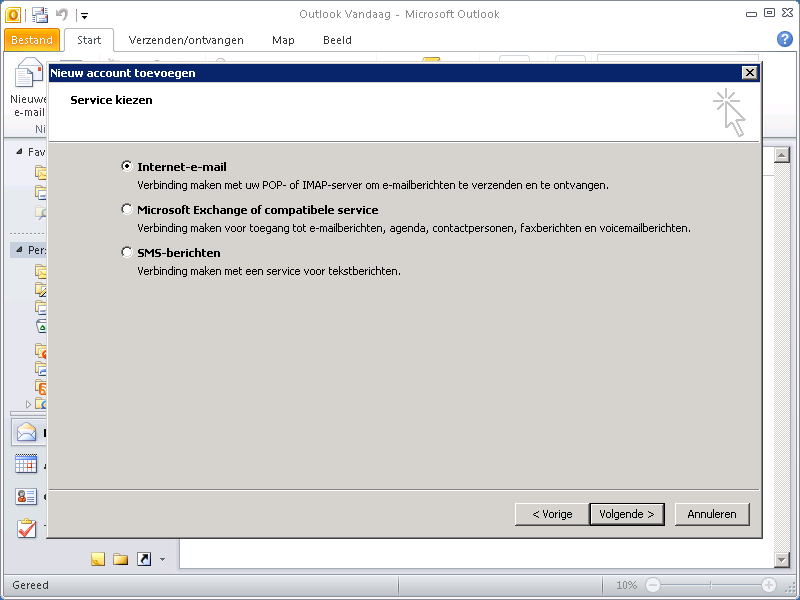
3. CHOOSE EMAIL
- Select here “Internet Email"
- Press the button"Next” (Next).
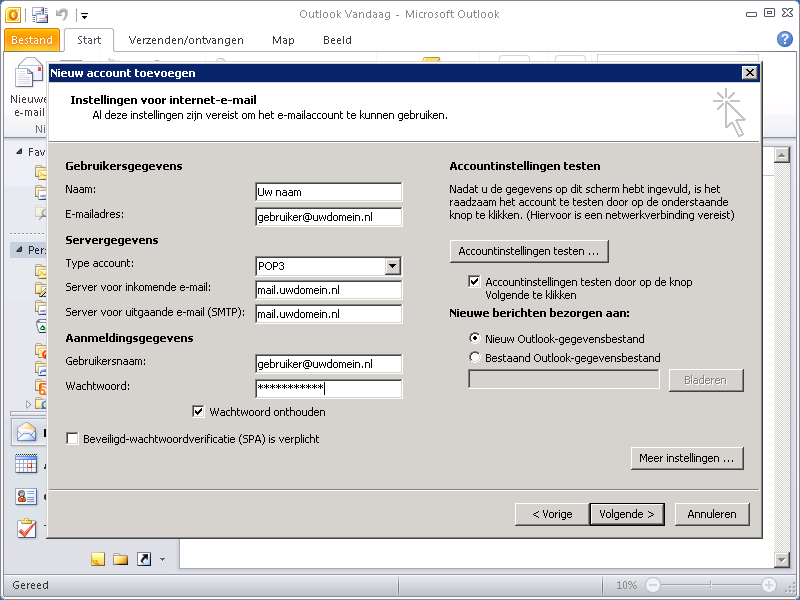
4. ENTER DATA
- Enter the information as you received it from Autosoft.
- The username is always your full email address.
- Then click on the button “More settings…"

5. OUTGOING MAIL
- The outgoing email requires authentication.
- Go to the tab “Outgoing mail server"
- Finch "For outgoing e-mailmail (SMTP) authentication is required" at.
- Check if the option “Use the same settings as for incoming email” is selected.
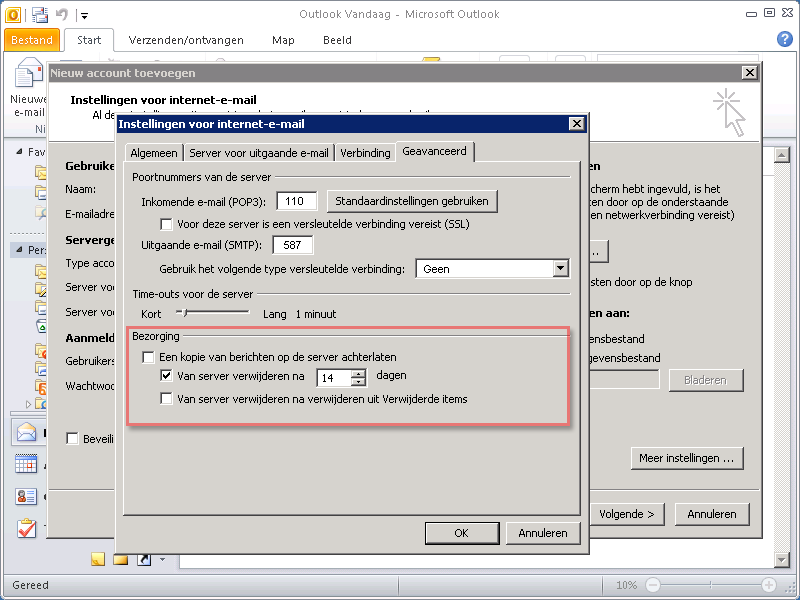
6. ADDITIONAL SETTINGS
- Incoming server (POP3): mail.yourdomain.nl, port 110
Outgoing server (SMTP): mail.yourdomain.nl, port 587
(TLS/SSL for an encrypted connection is not supported by us)
This always serves from to stand. - To prevent a mailbox from filling up, we request not keep online copies of your email.
- Go to the tab “Advanced” and uncheck the “A copy of leave messages on the server“ or set the number of days. (We recommend a maximum of 14 days)
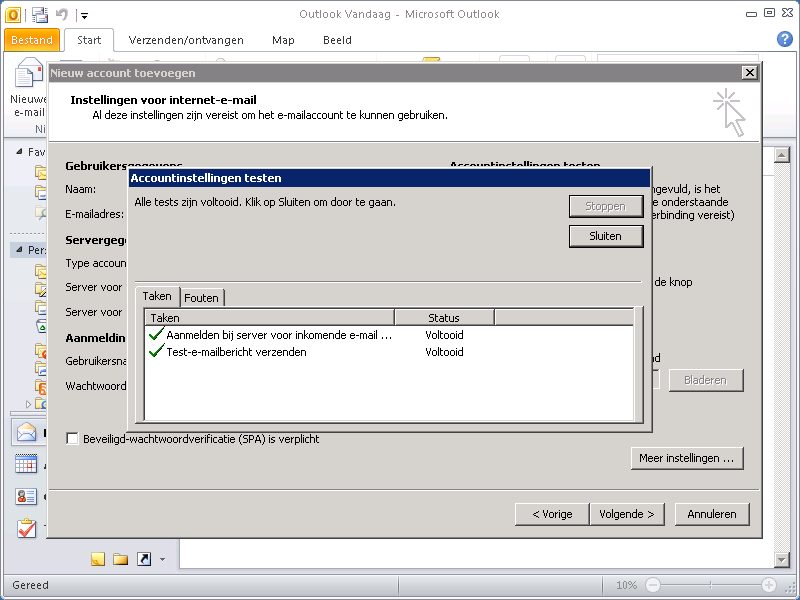
7. SAVE
- Press the button "OK”, The account settings will now be tested.
- Press the button "Close” when the tasks are successfully completed to continue.
- Do errors occur? Then check whether you have made any (typing) errors in previous steps

8. FINISH
- The account is now set up!
You have to go through the same steps for each account to be added.